Grout Cleaning

Welcome to my Work History archive where you will find detailed examples of the cleaning and renovation of Grout carried out in Shropshire

Cleaning and Renovating Grout

The top layer of grout is porous and can absorb grease, dirt and limescale. Spillages such as wine, lemonades or greasy substances will cause marks and patches in the joints in the floor. Grout between wall-tiles particularly in damp areas like bathrooms will become dirty and unattractive as a result of Mould, Mildew and Limescale.

Mould is one of the most unsightly problems, which usually starts off in the wettest area of the room, this could be the bottom of the shower or bath, then starts to spread and if left unchecked could cover a large area of the wall.

Another common issue we find is a problem known as Grout Haze or Grout Smearing where a thin layer of grout has been left to set on the surface of the tile. Once grout has set it is difficult to remove.

Discolouration of grout joints in bath or shower areas due to continued use of acid formulated shampoos and soaps. This causes yellow orange and pink stains to the grout over even a short period of time. Whilst Grout Joints can be cleaned, badly stained grout may need to be re-coloured.

Protecting your grout in advance with a sealer will prevent most of these issues and although relatively unknown in the UK, protection awareness is growing. Sealing forms an invisible barrier between the grout and the surface, this will then protect your investment for years to come.

We have solutions for all the problems listed above and below you will find detailed examples of work we have carried out in the past to resolve many of these issues. It should give you some idea of what’s involved and what can be achieved with the right techniques and products.


Ceramic Tiled Floor Renovation Shrewsbury

Renovating Patchy Grout on a Ceramic Tiled Floor in Shrewsbury

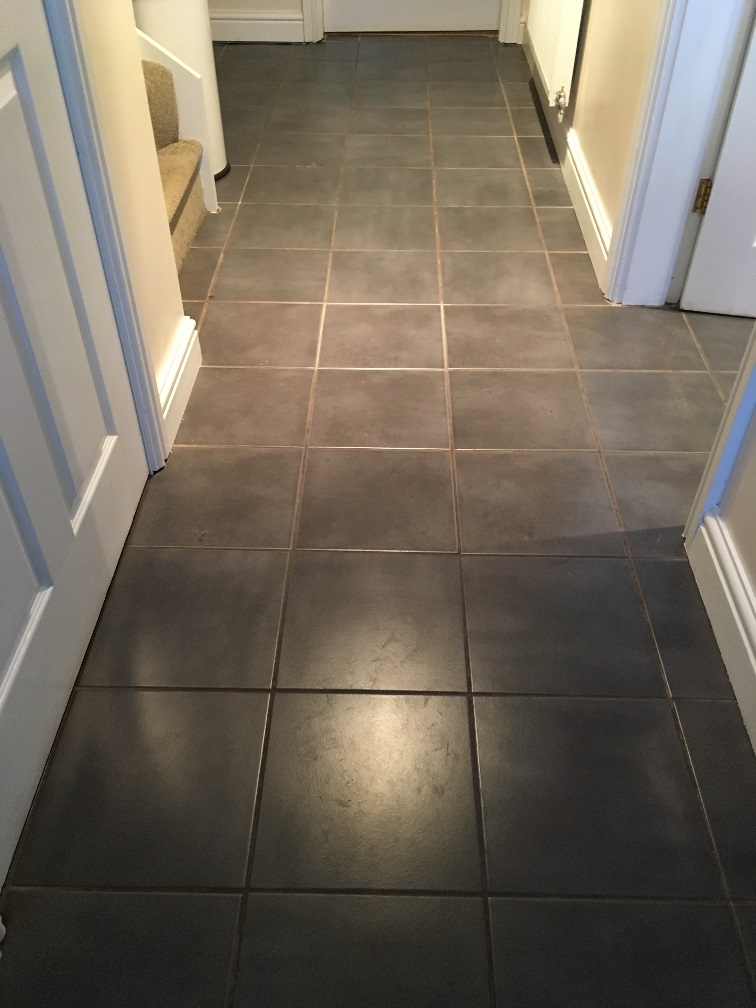
These pictures were taken at a five-year-old property in Shrewsbury where the entire ground floor had been laid with Ceramic tiles. The owner was mainly unhappy with the grout which after five years of use had become patchy in appearance. Grout is usually the biggest problem when it comes to Ceramic and Porcelain floors, the tiles themselves usually require very little maintenance, whereas the surface of grout is slightly porous and can be stained.

Ceramic Tiled Floor Before Grout Colouring Shrewsbury

I recommended deep cleaning the floor and then re-colouring it with a Charcoal Grey colourant, not only would this resolve the appearance issue, but the colourant also acts as a protective barrier over the grout making it easier to clean and will ensure it had a consistent appearance. The alternative would be to slowly rake out the grout and replace with new which given the size of the floor would take a long time, also it would probably become stained again so we would be back to square one. My client was happy with my quote and agreed to go ahead, so we booked in a suitable time to carry out the work.

Ceramic Tiled Floor Before Grout Colouring Shrewsbury

Cleaning a Ceramic Tiled Kitchen Floor

To clean the tile and grout I first sprayed on a medium dilution of Tile Doctor Pro-Clean then after ten minutes scrubbed it in with a black pad fitted to a rotary buffer machine. I then followed this up with a manual scrub of the grout as the pads can struggle to reach into the recess of the grout line. This action lifted the dirt out of the floor which was then rinsed away with water and extracted with a wet vacuum.

The next step was to prepare the grout for the colourant by scrubbing it with Tile Doctor Grout Clean-up. This is an acidic product that cleans the grout further and etches the surface of the grout to ensure a better bond with the colourant. The solution was then rinsed away again and removed with the wet vacuum. This process was repeated with more water to neutralise the floor and remove any trace of cleaning products.

Colouring the grout on a Ceramic Tiled Kitchen Floor

It was a large area, so I left the floor to dry off overnight and returned the following day to apply the Charcoal Grout Colourant. Applying the product is done with a small brush and any excess has to be cleaned off quickly before it dries which makes it quite a slow process. It certainly requires a steady hand and a lot of patience.

The Tile Doctor Grout Colourant is available in ten popular colours, so it is very versatile for all types of tiled areas. They also supply the Colourant in a kit form with a brush and bottle of Grout Pre-Treater so you have everything you need.

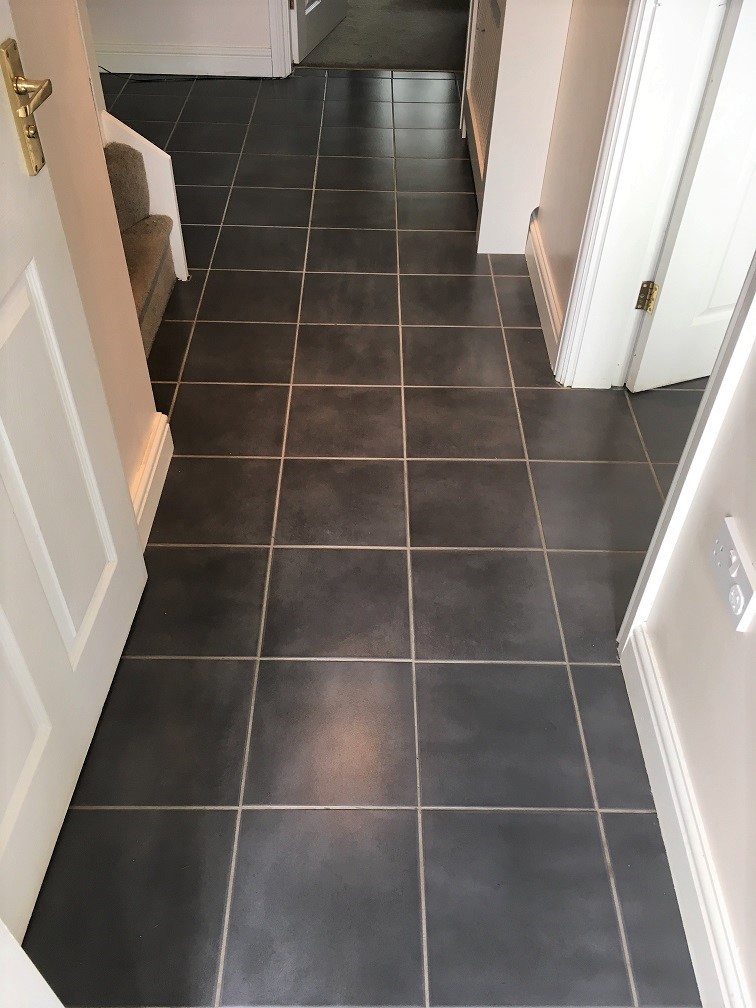
Ceramic Tiled Floor After Grout Colouring Shrewsbury

It was fairly tedious work, but the discoloured and patchy grout looked great after I was finished and my client was really happy with the result, they even left the following testimonial.
“Had the whole tiled ground floor of my house, cleaned, sealed and the grout darkened. Jozsef did a great job with no mess. I would highly recommend him”

Ceramic Tiled Floor After Grout Colouring Shrewsbury


Professional Renovation of a Ceramic Tiled Kitchen Floor in Shropshire

Renovating Patchy Grout on a Ceramic Tiled Floor in Shrewsbury Read More »

Porcelain Floor Tile Before After Epoxy Grout Haze Removal Telford

Epoxy Grout Haze Removed from New Porcelain Floor in Telford New Build

The photos below are of a Polished Porcelain tiled floor at a house in the new Telford Lawley Village development. When the house was built my customer had specified large format White glazed Porcelain floor tiles on the ground floor and had insisted on the use of a matching white Epoxy Grout. The developer agreed to lay the tiles but refused to use Epoxy Grout (which is very resilient but also tricky to work with). As a result, the customer hired someone else to grout the floor.

Porcelain Tiled Floor Before Epoxy Grout Haze Removal Lawley Village Telford

Epoxy Grout is notoriously difficult to work with and unfortunately the tiler was unable to remove all the grout residue from the surface of the Porcelain tiles and ruining their appearance. The tiler tried to remove the grout residue but ended up discolouring all the skirting boards instead. The customer was out of time at this point and had to move in, but the floor looked a right mess as is clearly visible on the before pictures on this page. Having given up on the tiler they decided to call Tile Doctor.

Porcelain Tiled Floor Before Epoxy Grout Haze Removal Lawley Village Telford

Fortunately for the customer we are very familiar with this issue and have been resolving problems like this for some time. After discussing the problem on the phone, I paid the customer a visit to take a close look at the problem and after running a few tests I was confident I could fix it for them. We agreed a price and I arranged a time to return to complete the work.

Cleaning a Polished Porcelain Tiled Hallway Floor

To break down the polymers in the epoxy grout I first applied Tile Doctor Remove and Go which was left for approximately fifteen minutes before agitating it with a black scrubbing pad fitted to a rotary floor machine. This process removed most of the grout haze but to get it looking 100% I swapped the black pad to a 3000-grit diamond burnishing pad and polished the tiles using a little water sprayed onto the tile. This is a very fine polishing pad and brings up the finish on the Porcelain tiles a treat.

Once that was done, I inspected the floor again looking for stubborn areas and then spot treated those areas by hand with a repeat of the same process and a scraper. The tiles were factory sealed so once I was happy all the grout haze was gone the job was finished.

Porcelain Tiled Floor After Epoxy Grout Haze Removal Lawley Village Telford Porcelain Tiled Floor After Epoxy Grout Haze Removal Lawley Village Telford

For aftercare and keep the floor looking pristine I recommended they use Tile Doctor Neutral Tile Cleaner. It’s easy to use and comes in concentrated form so you only need a small amount, it has a nice fresh smell. They could use household cleaners, but they are likely to leave a residue and leave smears on the polished surface

The client was very happy that I saved the floor for her, it now looked how she had imagined it and was in keeping with the rest of the stunning new house. She left the following testimonial for me, which is always a delight. They now just needed to clean up the skirting boards, which may need a rub down and a lick of paint.

“Very professional manner. Excellent job. I am more than pleased. Edith K.”


Professional Restoration of a Polished Porcelain Tiled Hallway in Shropshire

Epoxy Grout Haze Removed from New Porcelain Floor in Telford New Build Read More »

Ceramic Tiled Kitchen Floor Before and After Grout Cleaning in Childs Ecrall

Ceramic Tile Grout Cleaned and Recoloured in Childs Ercall

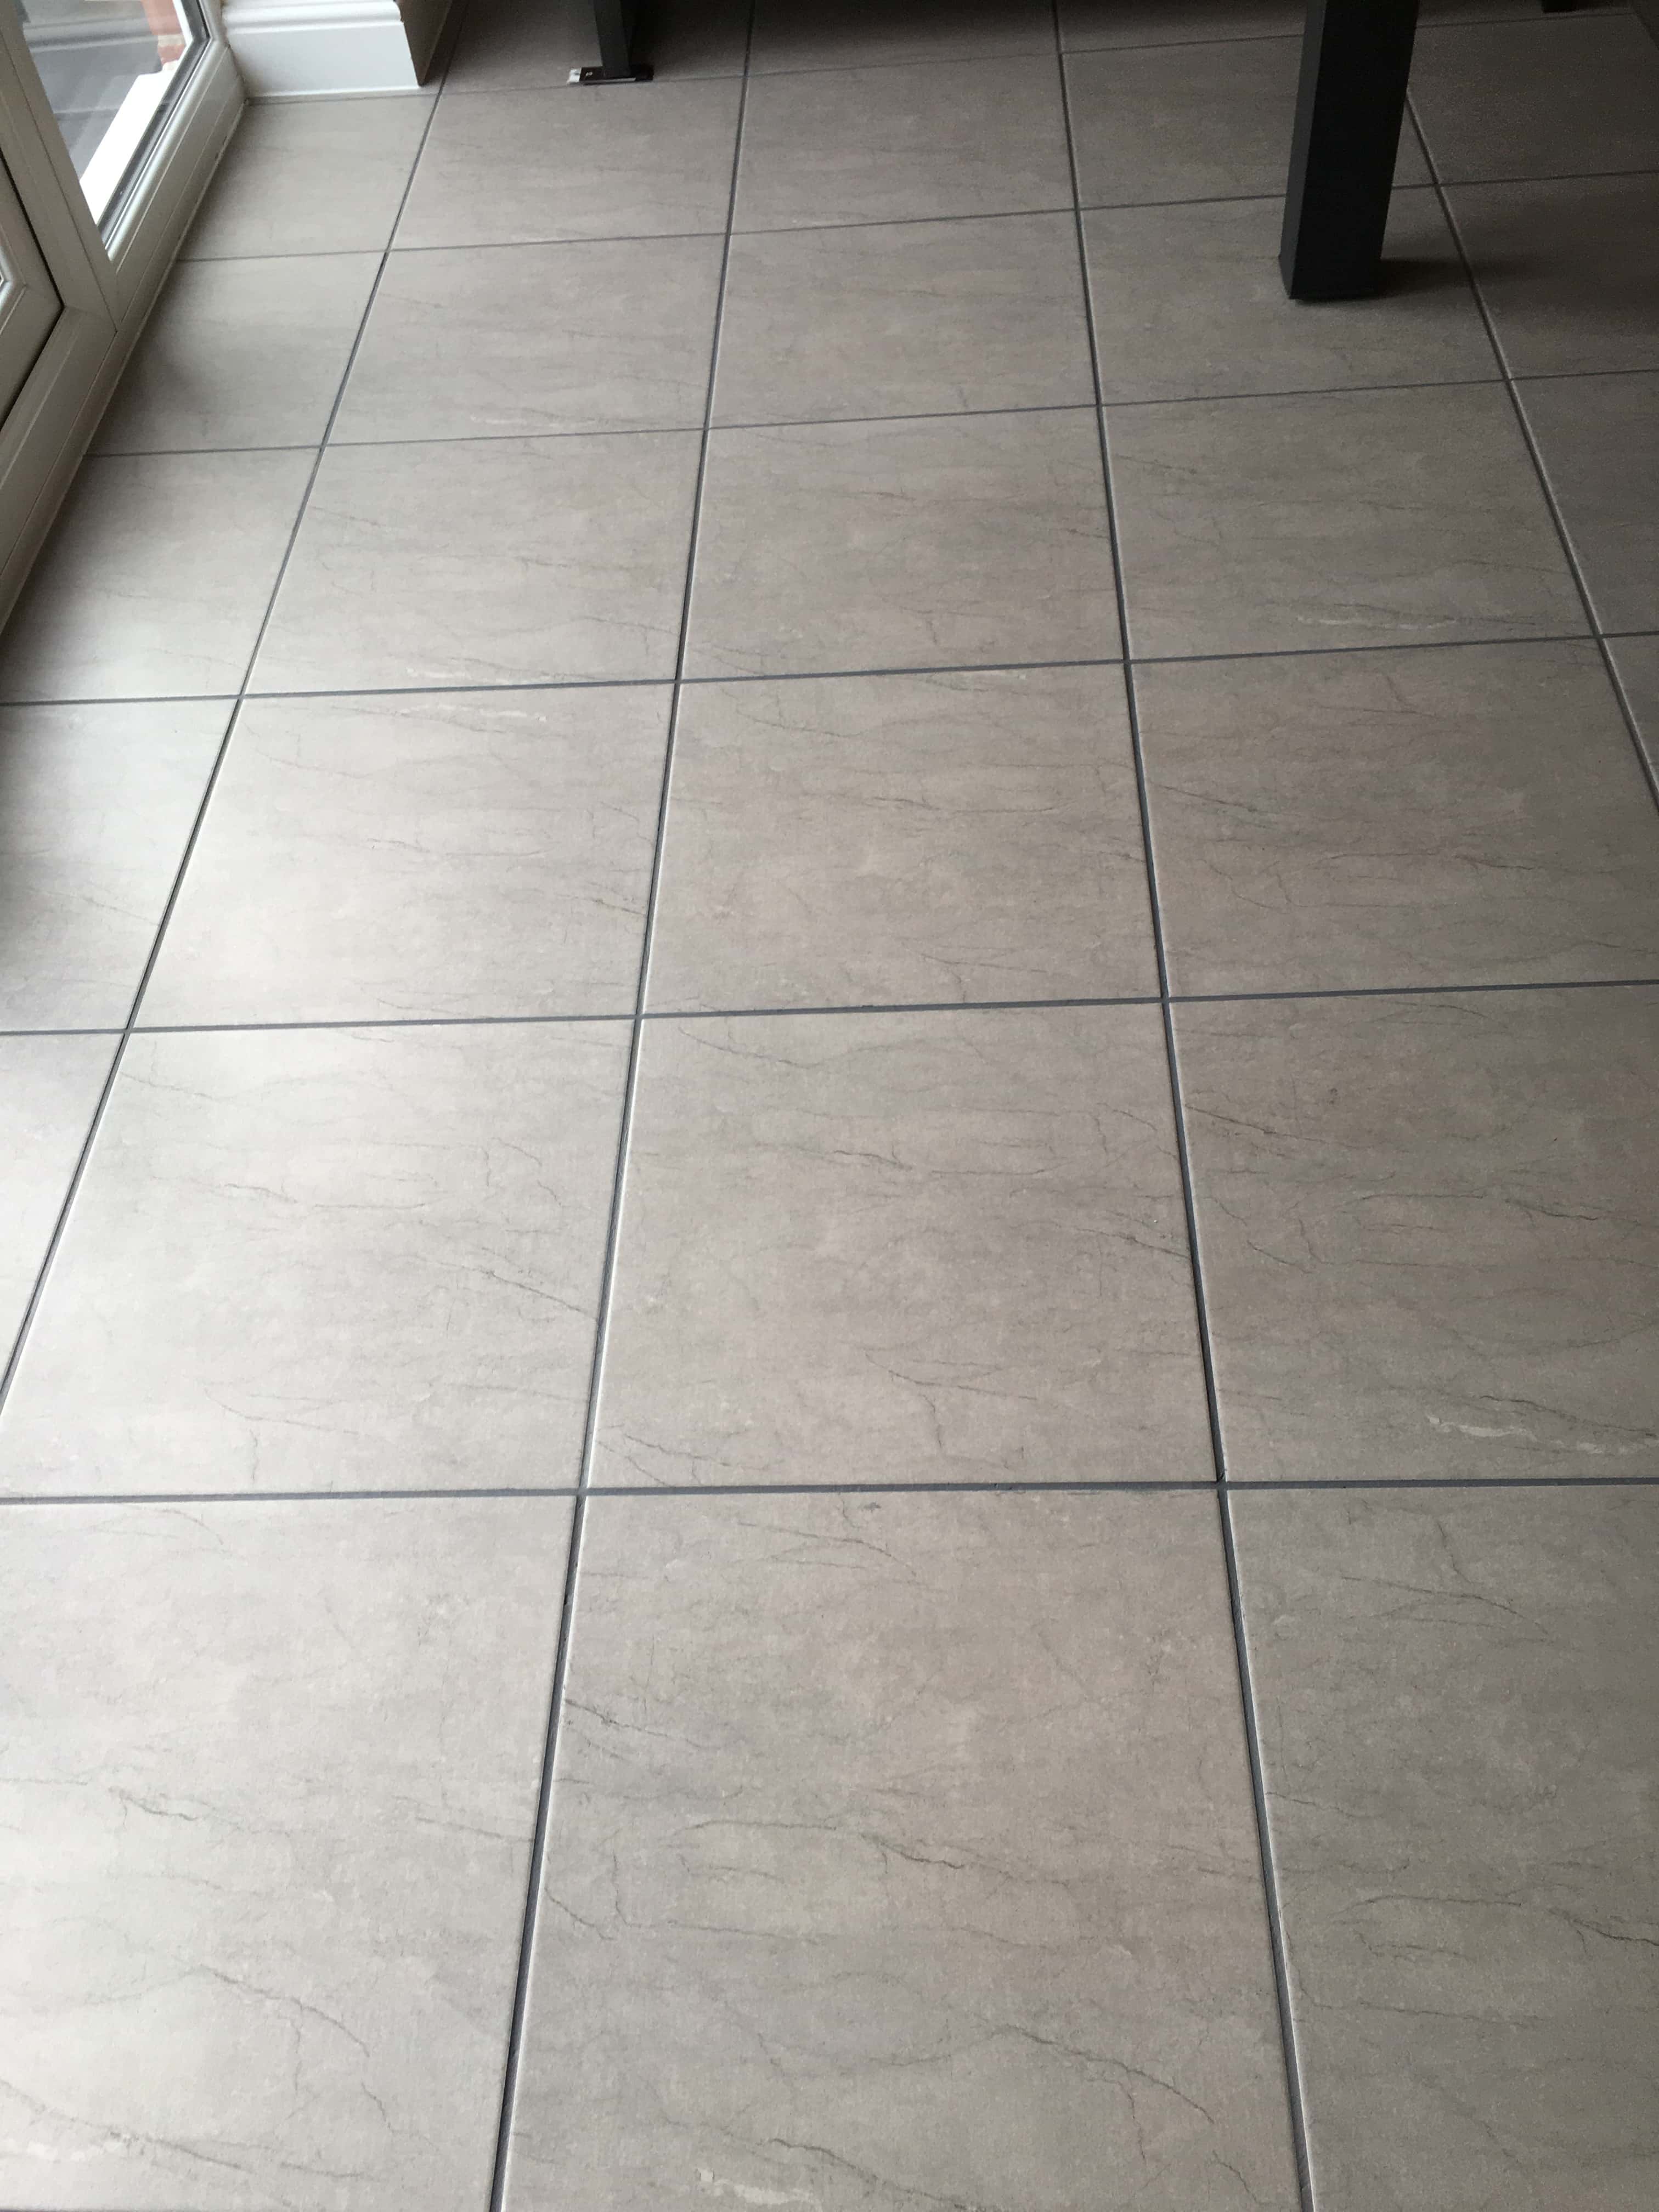
Ceramic tiles don’t have the charm of natural stone, but they are very easy to keep clean; grout on the other hand has a porous top layer that can become stained. This was the problem with a customer of mine who lives in the small rural village of Childs Ercall in the North of Shropshire. The customer had moved in about two years ago and they said that they can keep the floor clean and their main problem was the grout.

I went to take a look at the problem and gave the grout in one section a good scrub with Tile Doctor Pro-Clean which is a strong alkaline tile and grout cleaning product. The result was good and although the grout returned to its original colour they wanted it to be changed.

Ceramic Tiled Kitchen Floor Before Grout Cleaning in Childs Ecrall

Cleaning and Preparing the Ceramic Tile and Grout

Before colouring the grout, it made sense to give the Ceramic tile and grout a thorough clean by scrubbing in a weak dilution of Tile Doctor Pro-Clean with a floor buffer fitted with a scrubbing pad running at slow speed. Once done I rinsed the floor with water and extracted the slurry with a wet vacuum.

With any grit and dirt removed from the floor the next step was to prepare the grout for the colourant. Tile Doctor have an acidic pre-treater cleaner for this which cleans and microscopically etches the grout giving the colourant a superior bond with the colourant. The solution is applied to the grout and then scrubbed in with a stiff brush before being rinsed off with water as before.

Applying Grout Colouring

With the tiles clean and the grout prepped I left the floor to dry for an hour before moving onto grout colouring using a colour of their choosing. There are ten colours in the Tile Doctor range and they are easily applied using a small brush wiping off any excess as you go, it was a large area with a lot of grout lines to cover so took the rest of the day to complete

Ceramic Tiled Kitchen Floor After Grout Cleaning in Childs Ecrall
I have to agree with the customer, changing the grout colour was a good move and I think you will agree the floor now looks much improved. The grout colourant has the additional advantage of providing a barrier over the grout which will protect it from further issues and make it as easy to clean as the ceramic tiles.

Ceramic Tile Grout Prepped and Recoloured in Shropshire

Ceramic Tile Grout Cleaned and Recoloured in Childs Ercall Read More »

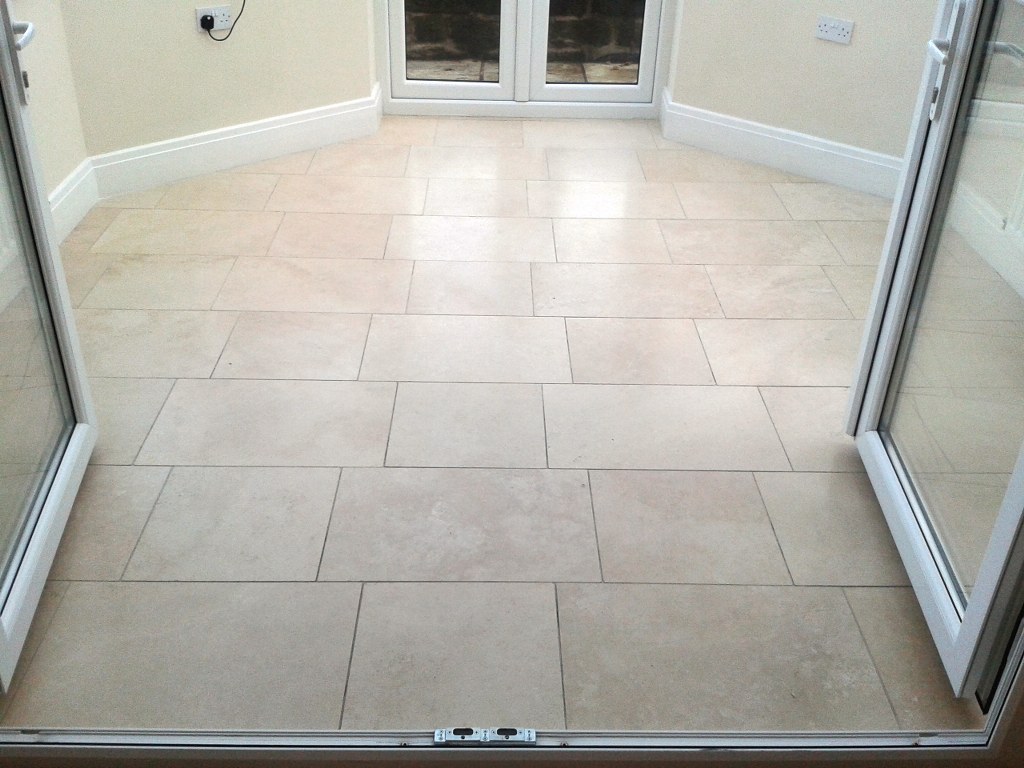
Limestone Floor After Cleaning and Polishing Oswestry

Limestone Tiled Floor Cleaned and Polished in Owestry

These Limestone tiles, installed in a lovely residence in the ancient market town of Oswestry close to the English/Welsh border, had become dull and dirty over the years and I was asked to get them looking their best again. When I arrived to do the quotation the customer’s main concern was that the grout lines had become dirty, but when I completed a test clean on one tile and the grout around it they realised the tiles themselves were dirty and had lost their shine to become a mat finish.

Limestone Floor Before Cleaning and Polishing Oswestry Limestone Floor Before Cleaning and Polishing Oswestry

Cleaning Limestone Tiles

It was a large floor so working in sections I gave the floor a general clean using a mild dilution of Tile Doctor Pro-Clean which was spread over the floor with particular attention paid to getting the solution into the grout lines. The solution was left to soak in and eat through any dirt and a stiff grout brush was run along each grout line giving it a good scrub along the way. Next we removed any trace of product by using a wet vacuum to extract the now dirty cleaning solution and rinsed thoroughly with clean water.

There were a couple of holes in the Limestone that needed attention so these were filled with a matching colour. The next step was to use a set of diamond encrusted burnishing pads which attach to a rotary machine and burnish the floor with four different grits from coarse to super fine. To remove any remaining sealer and dirt the floor is burnished using a course pad and a little water to help lubricate passing over each tile around four times in the process. The resultant soiled water is rinsed away with clean water which in turn is removed using a wet vacuum. This process is then repeated with the remaining pads, rinsing between each pad until a nice polish is built up on the tile. I managed to finish with the 2nd and 3rd pads but it was getting late to completely finish the polishing so called it a day.

Sealing Limestone Tiles

When I arrived on the second day to finish the polishing process with the fourth super fine polishing pad and seal the floor the customer thought I had already finished polishing and was already happy with the shine we had achieved so far, so you can imagine how happy she when I told her there was more to do. Once I had finished polishing I applied a single coat of Tile Doctor Colour Grow which impregnates the pores in the stone to prevent other contaminates getting in there; Colour Grow also does a great job of bringing out the natural colours in the stone.

Limestone Floor After Cleaning and Polishing Oswestry Limestone Floor After Cleaning and Polishing Oswestry

The customer was very happy with the end result and

Limestone Tiled Floor Cleaned and Polished in Owestry Read More »

=================================

Shropshire Tile Doctor

================================= Read More »

Scroll to Top